Leave Your Message
Pneumatic Seals help keep compressed air where it belongs, supporting reliable motion in cylinders, valves, and other equipment. When a seal fails, the first clue may be subtle: a hiss near a rod, slower movement, or a compressor that cycles more often than usual. Small leaks matter.
Failure rarely has one universal cause. Repeated motion can wear a sealing lip, while dust or metal particles may scratch the contact surface. Poor alignment can create uneven pressure around the seal. Excessive pressure, heat, or an incompatible lubricant may also shorten its service life. The exact cause depends on the seal material, machine design, operating conditions, and maintenance history.
Installation deserves close attention. A seal that is twisted, cut, or fitted into a dirty groove may leak from the start, even if it looks sound from outside. Yet replacement alone may not solve the problem. A damaged rod, rough bore, or persistent contamination can quickly harm the new seal as well. That detail is easy to overlook.
This guide examines common reasons Pneumatic Seals fail, the signs that help distinguish them, and practical checks for finding the underlying cause. It also considers how material choice, surface condition, pressure, and installation affect performance. No single checklist can diagnose every system, so equipment specifications and seal manufacturer guidance remain important. A careful inspection often reveals more than guessing from the leak alone.
Why Do Pneumatic Seals Fail?
How Pneumatic Seals Work in Compressed-Air Systems
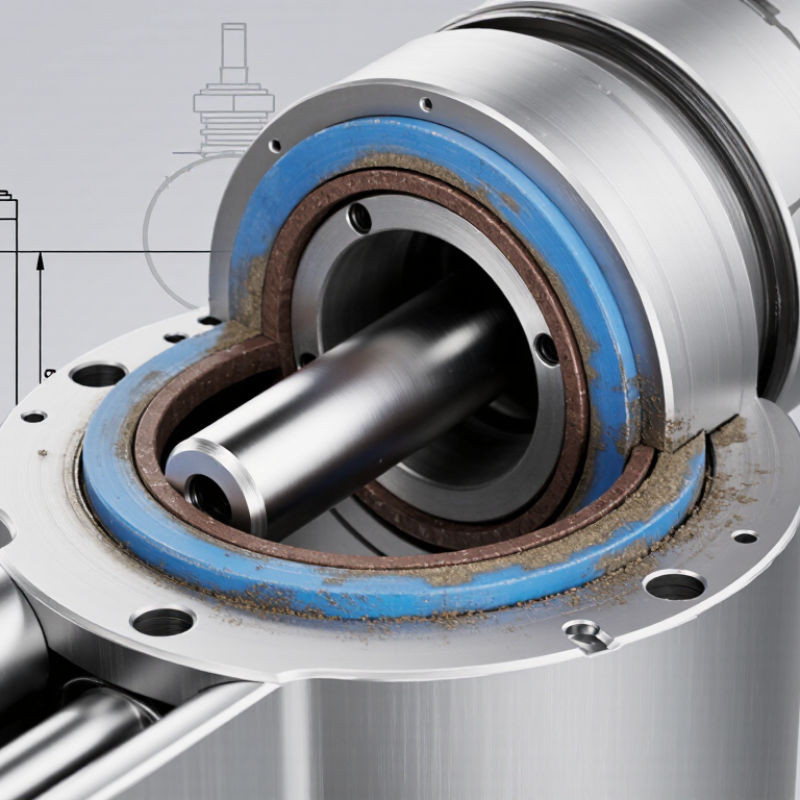
Compressed air drives a piston through a cylinder, while seals control where that air can go. A piston seal sits between the piston and cylinder wall. Its flexible edge presses against the smooth bore, limiting air leakage as the piston moves. A rod seal performs a related job where the piston rod exits the cylinder. It helps retain pressure and keep dust away from the moving parts. The seal must do this without creating excessive friction. Small clearances matter.
Failure often starts with conditions that seem minor. Dust can score a cylinder wall; dry air or poor lubrication can increase wear. Excessive pressure, heat, or a damaged rod may deform the seal. A worn seal can let air bypass the piston, reducing force or causing uneven motion. You might hear a hiss, notice slower travel, or find the cylinder struggling under a familiar load. Not every leak comes from the seal, though. Fittings and valves deserve inspection too, and that is easy to overlook.
Tips: Check the rod for scratches and the cylinder for contamination. Use seals suited to the system’s pressure, temperature, and air quality. Follow the equipment maker’s maintenance guidance. If a replacement seal wears quickly, pause and check alignment or surface damage—not just the seal itself.
| Seal Function | How It Works | Common Failure Cause | Typical Signs | Practical Checks |
|---|---|---|---|---|
| Static sealing | A seal is compressed between stationary surfaces to limit air leakage at a joint, end cap, or port. | Incorrect installation, damaged sealing faces, contamination, or a seal made from an unsuitable material. | Air escaping from a stationary joint; pressure loss while the actuator is not moving. | Inspect the seal and mating surfaces for cuts, dirt, flat spots, or uneven compression. Confirm the seal dimensions and material suit the application. |
| Piston sealing | A piston seal separates the two sides of a cylinder piston, helping compressed air produce controlled linear motion. | Wear from repeated cycling, abrasive particles, insufficient lubrication where required, or damage during assembly. | Reduced force, slow or inconsistent movement, air bypass between cylinder chambers, or difficulty holding position. | Check for internal leakage and inspect the piston seal, cylinder bore, and piston for wear, scratches, or embedded debris. |
| Rod sealing | A rod seal maintains a seal around the moving piston rod as it travels through the cylinder head. | Rod scratches or corrosion, side loading, misalignment, contamination, or excessive seal wear. | Air leakage around the rod; visible damage or deposits on the rod; worsening leakage during motion. | Inspect the exposed rod surface and alignment. Check for scoring, corrosion, dirt, and signs of uneven wear on the rod seal. |
| Wiper or scraper action | A wiper removes dust and other contaminants from the rod as it retracts, helping protect internal seals. | A worn, damaged, or poorly fitted wiper allows contaminants to enter the cylinder. | Dirt near the rod opening, accelerated seal wear, or recurring leakage after a seal replacement. | Check the wiper for tears, hardening, or poor contact. Review the cleanliness of the surrounding environment and rod. |
| Dynamic sealing during motion | Dynamic seals maintain contact with moving surfaces while limiting compressed-air leakage and friction. | Excessive speed, pressure outside the component’s rated range, incompatible seal geometry, or poor surface finish. | Erratic movement, increased friction, heat, stick-slip motion, or leakage that changes with stroke speed. | Compare operating pressure and speed with the cylinder specifications. Check alignment, surface condition, and seal compatibility. |
| Material and temperature compatibility | The seal material is selected to remain flexible and resilient under the system’s air, temperature, and lubricant conditions. | Exposure to incompatible lubricants, cleaning chemicals, moisture, or temperatures beyond the material’s intended range. | Swelling, hardening, cracking, softening, or loss of sealing performance. | Review the seal material against the system temperature, air quality, and any lubricant or chemical exposure. Replace damaged seals with a compatible type. |
| Air cleanliness and lubrication | Filtered, properly prepared air helps reduce particles and moisture that can damage sealing surfaces; lubrication should follow equipment requirements. | Dirty or wet air, clogged filters, excessive contamination, or lubrication practices that do not match the component instructions. | Premature wear, corrosion, deposits, inconsistent motion, or repeated seal failures. | Inspect filters and drains, check air preparation equipment, and follow the cylinder manufacturer’s guidance on lubrication. |