How to Use Stamped Sheet Metal for Your DIY Projects?
In the world of DIY projects, Stamped Sheet Metal stands out as a versatile material. Expert Jane Doe, known for her work in metal fabrication, once stated, "Stamped Sheet Metal can elevate any project with both aesthetics and functionality." This insight highlights its significance in enhancing creativity.
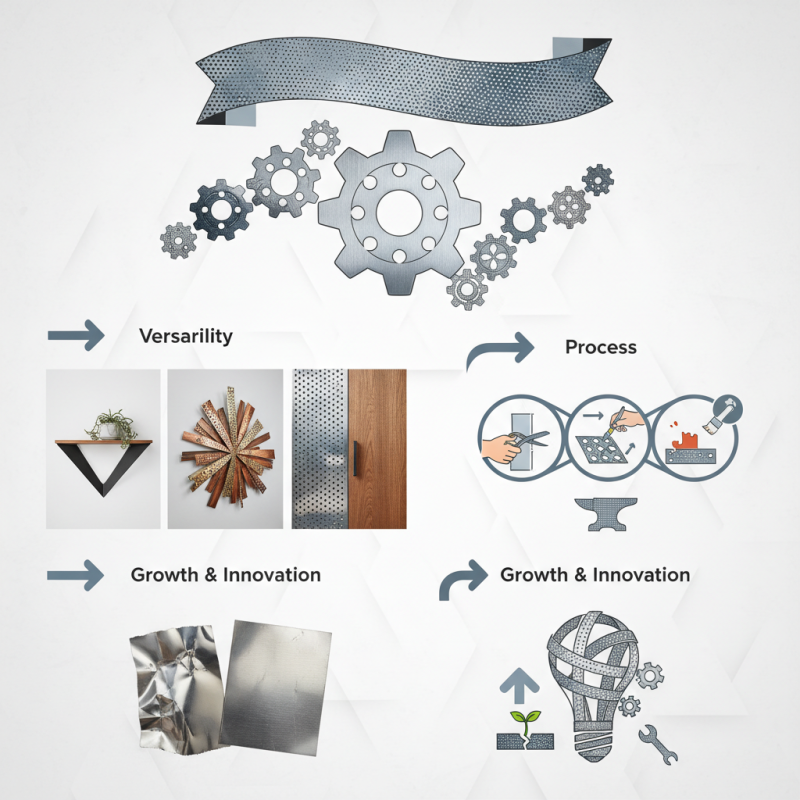
Using Stamped Sheet Metal opens doors to various applications. It can be shaped, painted, or adorned, making it suitable for furniture, art, and home improvements. Imagine creating a unique shelf or a decorative wall piece. These applications reflect the potential of this medium, yet achieving that potential requires skill and practice.
However, not every attempt will be perfect. Beginners may struggle with cutting or bending techniques. Mistakes can be a part of the learning journey. Reflecting on these challenges can lead to significant improvements. Embracing imperfection in your work fosters growth. Stamped Sheet Metal invites innovation, but it requires patience and perseverance.
Understanding Stamped Sheet Metal: Types and Applications
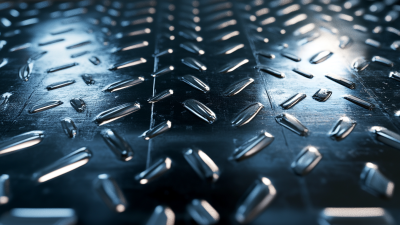
Stamped sheet metal is a versatile material in DIY projects. It comes in various types, each with distinct properties. Common types include aluminum, stainless steel, and copper. Aluminum is lightweight, making it great for small projects. Stainless steel offers durability and resistance to corrosion, ideal for structures that face the elements. Copper, though more costly, provides exceptional aesthetic appeal.
When choosing stamped sheet metal, consider the application. For functional items like cabinets or brackets, aluminum or stainless steel is preferred. Decorative pieces, like artwork or custom signage, benefit from copper’s vibrant color. Yet, crafting with stamped sheet metal can be challenging. You may misjudge the thickness or texture, leading to issues during installation. It's essential to account for the weight and sharp edges, as they can pose safety risks. Reflecting on these factors helps improve skills and outcomes in your projects.
How to Use Stamped Sheet Metal for Your DIY Projects
| Type of Stamped Sheet Metal |
Common Applications |
Thickness (mm) |
Typical Material |
| Aluminum Stamping |
Automotive parts, heat sinks |
0.5 - 3.0 |
Aluminum alloys |
| Steel Stamping |
Structural components, brackets |
0.6 - 5.0 |
Mild steel, stainless steel |
| Brass Stamping |
Electrical connectors, fittings |
0.3 - 2.0 |
Brass alloys |
| Copper Stamping |
Electronic components, circuit boards |
0.2 - 3.0 |
Copper |
| Plastic Stamping |
Consumer products, enclosures |
0.5 - 4.0 |
Various plastics |
Tools and Materials Needed for Working with Stamped Sheet Metal
When working with stamped sheet metal, having the right tools and materials is essential. You will need a metal cutting saw or shears. These tools help create precise cuts. A metal file can smooth rough edges after cutting. Don't forget strong gloves. Safety should always come first. Use protective eyewear to shield your eyes from metal shards.
Additionally, a sturdy workbench is vital for stability. It helps you control the sheet metal while working. You may also consider clamps to hold the metal securely. If your project involves bending, a metal brake is useful. However, this can be a challenge for beginners. Practice is essential to get uniform bends.
Lastly, some may overlook the importance of planning your design. Sketch your project before starting. Errors in design can lead to wasted materials. Take your time to rethink your approach, especially in tricky areas. This way, you can experiment and refine your skills gradually.
Step-by-Step Guide to Designing Your DIY Project with Stamped Metal
When designing a DIY project with stamped sheet metal, precision matters. The first step is to sketch your design. Keep it simple. Focus on the dimensions and shapes you want. According to an industry report from the Metal Stamping Association, high-quality projects see a 30% lower error rate when designs are thoroughly planned before beginning.
Next, choose the right thickness for your metal sheets. Not all projects require the same gauge. Thicker sheets can be more challenging to work with. They may bend or warp if not handled properly. On the other hand, too thin material might not provide adequate strength. Striking the right balance is crucial. Many hobbyists overlook these details, leading to frustrations in the final outcome.
Once you've cut your metal, focus on finishing edges. Raw edges can be sharp and dangerous. An unfinished surface detracts from the overall look. Taking the time to deburr and polish will elevate the project’s aesthetic. Small details matter; they can make or break your creation. Reflect on your method; sometimes the simplest change can lead to significant improvements.
Techniques for Cutting and Shaping Stamped Sheet Metal
When working with stamped sheet metal, cutting and shaping techniques are crucial. Using metal snips is one common method. They are user-friendly and ideal for thin materials. However, ensure you have a stable surface to make clean cuts. Sometimes, this technique results in jagged edges needing further refinement.
Another option is using a jigsaw fitted with a metal cutting blade. This allows for more intricate shapes. The downside? It requires steady hands and practice. Even slight mistakes can lead to uneven edges. Always wear protective goggles to avoid any accidents. On the other hand, a plasma cutter impressively slices through thicker sheets. This tool produces clean edges, but it can be intimidating for beginners.
Shaping sheet metal often involves bending. A simple brake can help create precise angles. However, one should keep in mind that over-bending can weaken the metal. Always test with scrap pieces first. Every project teaches something. Experimentation and reflection help improve your technique over time. Embrace the imperfections; they are part of the learning process.
Finishing and Protecting Your Stamped Sheet Metal Projects
When working on DIY projects with stamped sheet metal, finishing is crucial. Properly finishing your metal can enhance its appearance and durability. Start with sanding the edges to remove sharpness. This is where many enthusiasts slip up. Skipping this step can lead to injuries later.
Once edges are smoothed, consider using a primer. A rust-inhibiting primer is a good choice. Apply it evenly across the surface. Watch for drips and bubbles. Too thick of a layer can create an uneven texture. If needed, lightly sand again once the primer is dry. It’s a simple step, but many forget it.
Protective coatings come next. A clear sealant works well for indoor items. For outdoor pieces, choose a weather-resistant option. Apply thin, even coats. Don’t rush; drying time varies. Mistakes in layering can ruin your project, so take your time. Remember, this finishing process can make or break your work. It’s worth the effort.
Usage of Stamped Sheet Metal in DIY Projects
This chart illustrates the number of DIY projects utilizing stamped sheet metal across various categories. The data reflects a growing trend in using stamped sheet metal for various applications, highlighting its versatility and popularity in the DIY community.